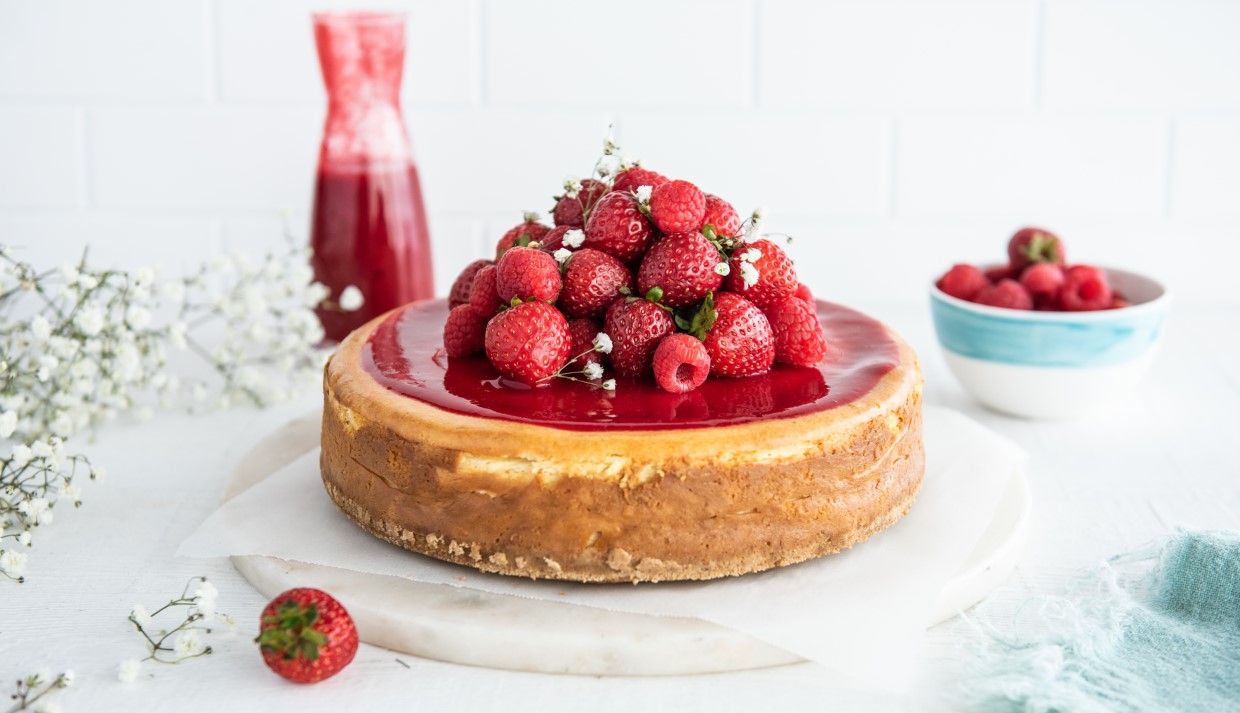
There’s something undeniably comforting about a Classic baked vanilla cheesecake. Its creamy texture, coupled with a rich vanilla flavor, makes it a beloved dessert worldwide. Perfect for any celebratory occasion, a get-together with friends, or simply when you crave a sweet treat, this cheesecake never fails to impress. Whether you’re a seasoned baker or someone just dipping their toes into the world of baking, mastering this dessert can be incredibly rewarding.

The Origins of Classic Baked Vanilla Cheesecake
The origins of our beloved Classic baked vanilla cheesecake can be traced back to ancient Greece. Historical records indicate that cheesecake was served to athletes during the first Olympic Games in 776 BC to provide energy and sustenance. Over the centuries, this delightful dessert evolved, journeying through Rome and medieval Europe, each culture adding its unique twist, eventually making its way to America. Today, the cheesecake is a cherished dessert, enjoyed in numerous variations globally.
Essential Equipment for Achieving the Perfect Cheesecake
Creating the perfect classic baked vanilla cheesecake requires specific tools to ensure the process is seamless and stress-free. First and foremost is a quality ‘double boiler’. This piece of equipment is crucial for gently melting chocolate or sugar without the risk of burning, a necessary step for certain cheesecake recipes. Additionally, a reliable ‘knife set’ is essential for precision and ease when cutting the delicate slices of your completed cheesecake. A sturdy ‘cutting board’ comes in handy for prepping ingredients, providing a stable surface to work on. Finally, a set of durable ‘mixing bowls’ is indispensable for combining your ingredients thoroughly, contributing to the cake’s smooth and creamy texture.
Ingredients to Make Your Cheesecake Shine
| Ingredients |
| 1 1/2 cups graham cracker crumbs |
| 1/4 cup melted butter |
| 1 tablespoon sugar |
| 3 (8-ounce) packages cream cheese |
| 3/4 cup sugar |
| 3 eggs |
| 2 teaspoons vanilla extract |
| 1/4 cup all-purpose flour |
| 1 cup sour cream |
Before assembling, remember to prepare your tools and consider using modern cookware cleaners to maintain your equipment in top shape. You can check stainless steel cleaner for long-lasting utensils.
Step-by-Step Instructions
Making the Crust
Creating the perfect foundation for your classic baked vanilla cheesecake is all about the crust. Begin by blending 1 1/2 cups of graham cracker crumbs with 1/4 cup of melted butter and a tablespoon of sugar. This mixture should resemble wet sand. Press this mixture into a springform pan, ensuring an even thickness all around. Pre-bake this crust in a 350F oven for 10 minutes to firm it up, providing a solid base for your cheesecake filling.
Preparing the Rich Cheesecake Filling
The success of your cheesecake lies in its creamy, smooth filling. In a large ‘mixing bowl’, blend together three packages of softened cream cheese and 3/4 cup of sugar. Carefully add the eggs, one at a time, blending thoroughly after each addition. This ensures an even distribution of the eggs throughout the mixture, contributing to the cheesecake’s rich texture. Stir in two teaspoons of vanilla extract and a quarter-cup of all-purpose flour. Fold in the sour cream, ensuring your filling is uniformly smooth. Pour this rich filling over your pre-baked crust.
Baking Your Classic Cheesecake
The baking process for your classic baked vanilla cheesecake is a delicate one. Place your cheesecake in an oven preheated to 325F. Let it bake for 50 minutes to an hour or until the center is set. You’ll know your cheesecake is ready when the edges are firm, but the center has a slight jiggle when moved. Remove the cheesecake from the oven, allowing it to cool at room temperature. This step is crucial to prevent cracks from forming on the top of the cheesecake. Once cooled, refrigerate the cheesecake for at least four hours, allowing the flavors to mature and meld together.
Serving and Enjoying Your Masterpiece
After the refrigeration period, your classic baked vanilla cheesecake is ready to serve. For a perfect slice, dip a sharp knife in hot water before each cut, cleaning the knife between slices. This simple tip ensures clean, smooth slices of cheesecake every time. Serve each slice topped with fresh fruits, whipped cream, chocolate shavings, or a fruit compote, depending on your preference. Enjoy this delightful dessert with friends and family, savoring each bite. Don’t forget to maintain your kitchen tools with cutting board conditioner to ensure longevity.
Pro Tips to Elevate Your Baking Experience
To enhance your cheesecake experience, remember that practice makes perfect. Use a knife set for even cuts, ensuring a professional presentation. Also, consider exploring different toppings and flavor infusions to tailor your cheesecake to different occasions. Embrace your inner experimenter and try creating cheesecakes with unexpected yet delicious twists, like adding a hint of lemon zest for a citrusy touch.
Connecting with the Baking Community
Baking isn’t just about the end product; it’s a journey of learning and connection. Engage with other baking enthusiasts to share tips, recipes, and experiences. Online communities and forums offer a wealth of resources, from troubleshooting advice to creative inspiration. If you’re seeking further guidance, the Desserts Section on Allrecipes is a treasure trove of ideas and techniques. Enjoy the process, embrace the trials and errors, and relish the sweet successes along the way.

Final Thoughts
Creating a classic baked vanilla cheesecake from scratch is a deeply satisfying endeavor that delights more than just the palate. It brings together ingredients, techniques, and creativity in a beautiful harmony that challenges and rewards the baker. Whether it’s your first attempt or one of many, each cheesecake tells a story of effort, patience, and passion. With the right tools, guidance, and a bit of practice, you too can master this exquisite dessert and share your creation with those you cherish.
For additional baking insights and travel tales that complement your culinary journey, check out our other blog posts like Slimming World Week 20 and travel tips in Exploring Europe.


