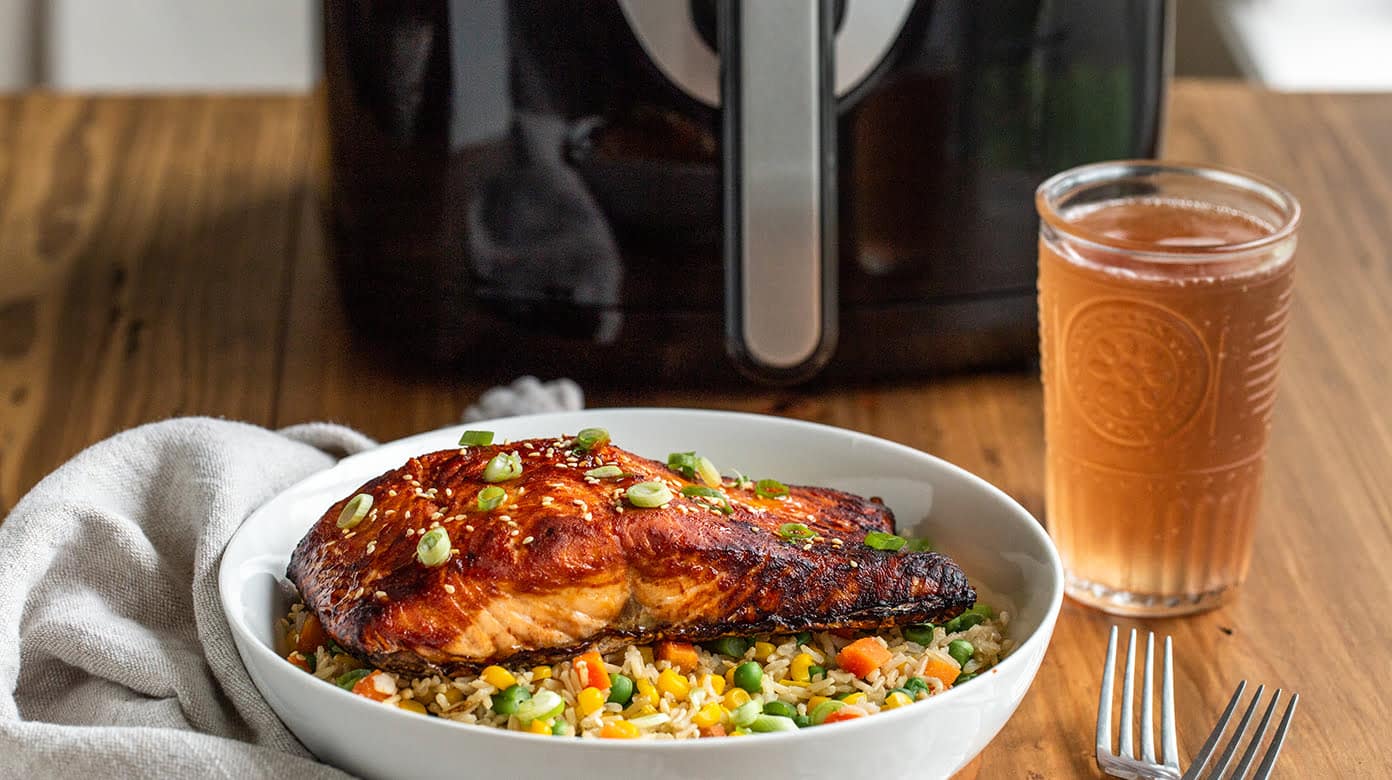
When it comes to whipping up a meal that brings together incredible taste, quick preparation, and easy clean-up, nothing beats **Air Fryer Garlic Butter Shrimp**. Perfectly cooked shrimp in a blend of garlic and buttery goodness, ready in minutes thanks to your trusty air fryer, this dish is set to revolutionize your home-cooked meals. Whether you’re a busy parent looking for a quick dinner or someone wanting to impress guests with minimal effort, **Air Fryer Garlic Butter Shrimp** is your answer.

The Magic of the Air Fryer
The air fryer is undoubtedly among the most revolutionary kitchen gadgets of recent times. Using a **minimal amount of oil**, it circulates hot air to create a crispy, fried-like finish, a method that’s a favorite amongst health-conscious cooks. With the air fryer, you enjoy all the flavor and texture of traditional frying without its drawbacks, such as excessive oil consumption and complicated clean-up. You can learn more about different air fryer recipes that showcase the versatility of this tool.
Ingredients and Tools for Air Fryer Garlic Butter Shrimp
- 1 pound of large shrimp, peeled and deveined
- 2 tablespoons of unsalted butter
- 4 cloves of garlic, minced
- 1 tablespoon of lemon juice
- 1 teaspoon of salt
- 1/2 teaspoon of black pepper
- 1 tablespoon of fresh parsley, chopped
- 2 tablespoons of olive oil
Required tools: air fryer, olive oil, knife set, and cutting board.
Step-By-Step Cooking Instructions
Step 1: Start by preheating your air fryer to 400F. This ensures that your shrimp will cook evenly and quickly, achieving that perfect crispy texture that everyone loves.
Step 2: In a small saucepan, melt the butter over medium heat. Add the minced garlic, letting it saut until fragrant, which should take about a minute. Stir in the lemon juice, salt, and black pepper, then remove from heat. This step right here brings out the incredible garlic butter aroma that is crucial for the dish.
Step 3: Place the shrimp in a bowl and drizzle the garlic butter sauce over it, making sure each shrimp is well coated. Allow the shrimp to rest in the marinade for about 5 minutes to soak up all the flavors.
Step 4: Arrange the shrimp in a single layer in the air fryer basket. Cook for approximately 6-8 minutes, turning them halfway through. Shrimp are pink and opaque when fully cooked a sign that your meal is nearly ready to be devoured.
Step 5: Once the shrimp are done, toss them with freshly chopped parsley for a touch of color and an extra layer of flavor before serving.
Why You Should Embrace This Recipe
This **Air Fryer Garlic Butter Shrimp** recipe is as healthy as it is delicious. Unlike traditional frying methods that require copious amounts of oil, air fryers need just a splash of **olive oil**, making this meal not only tasty but also a healthier option. Plus, the recipe is easy to follow and takes less than 20 minutes from start to finish. This means more time enjoying a scrumptious meal with your family, and less time spent cooking and cleaning.
If you’re looking for inspiration on other air fryer meals, check out this Mac and Cheese Bites article for a cheesy delight or visit this Onion Rings recipe for the perfect side dish.
Optimal Cooking Practices
For beautifully cooked shrimp, always remember not to overcrowd the air fryer basket. Air circulation is key to achieving that signature crispy finish. Be sure to shake the basket halfway through the cooking time to allow the shrimp to cook evenly. If you’re preparing a large batch, cook the shrimp in batches for the best results.
Storing and Reheating Leftover Shrimp
Though highly unlikely, if you have leftovers, they can be stored in an airtight container in the refrigerator for up to 3 days. To reheat, pop them back into the air fryer for a few minutes until warmed through, and they’ll retain much of their original flavor and crispiness.
For more fun and exciting air fryer recipes that could complement your shrimp, explore this collection of innovative air fryer dishes.

Final Thoughts
**Air Fryer Garlic Butter Shrimp** not only satisfies the taste buds but also offers a world of culinary possibilities. From pairing with steaming rice to laying atop a fresh bed of greens, this dish adapts delightfully to whatever you prefer. Dive into the simplicity and beauty of air-fried foods and discover the joy of quick, healthy, and delicious meals right from your kitchen!
Before we wrap up, let’s not forget to maintain our kitchen tools. Invest in a reliable cookware care kit and a cutting board conditioner to keep your essentials in top shape. Carry on cooking up a storm!
If you enjoyed this recipe, delve deeper into the exciting world of air frying with our extensive guide here: General Tso’s Chicken. Happy cooking!
This article contains affiliate links. We may earn a commission at no extra cost to you.


